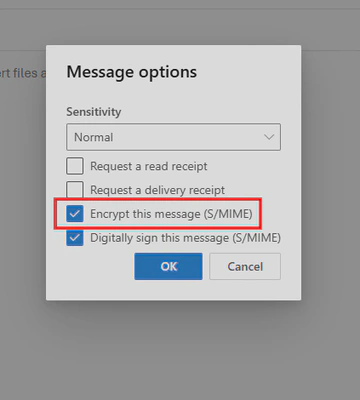
Implementing S/MIME with Exchange Online and OWA

Aaah email, invented late 20th and still the corner stone of communication today. However security needs are increasing and we had to find new ways to ensure our email communications were secured. Why? Because to exchange emails, email servers use SMTP, an unencrypted protocol, so we can forget the confidentiality and authenticity guarantee. It’s true that we can wrap it into TLS using SMTPS or STARTTLS but if you’re using Exchange Online if the recipient mail server doesn’t support TLS then the communication will be simple unencrypted SMTP.
That’s where standards such as S/MIME (Secure/Multipurpose Internet Mail Extensions) come to our rescue! Using this standard you can sign your email with your private key before sending it to the recipient who can verify it with your public key (public key that you exchange with recipient by another secure means). You can also encrypt an email with the recipient’s public key to ensure only this recipient can open it.
And then you gonna tell me all this little story is very interesting but how do I do to implement it? You could implement S/MIME on each of your email client if they support it like the old Outlook but then you have to add the public key of your contacts on every email client which can be a bit tedious but works! Also it’s good to note that the New Outlook doesn’t support S/MIME yet but should support it during this month of november 2024. However if you have Exchange Online you could set up the public keys of all contacts once for everyone on your server! But it’s no magic, each user will still have to install its own private key locally on its device.
In this article we will see how to implement it on Exchange Online with Outlook on the Web (OWA).
Install the private key on your local machine
Install S/MIME control for OWA
First you’ll need to install the S/MIME control on your browser (as of today it’s only available on Edge and Chrome) so OWA can call the Windows API of your local machine to encrypt/sign email using the private key installed on it.
- Open
outlook.office.comand go to settings by clicking on the gear on the top right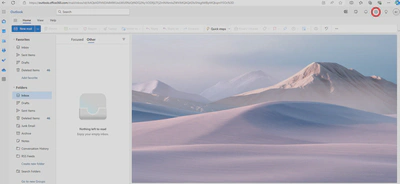
- Click on
Mail > SMIMEand on theclick herelink to install the browser extension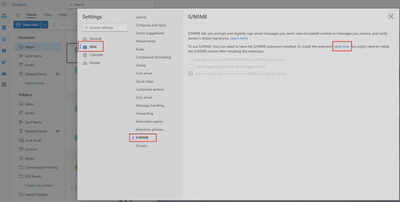
- Once the browser extension is installed, go back to the setting page and click on the
click herelink to download and install the control extensionSmimeOutlookWebChrome.msi. - Once it’s done, you can restart your browser and ensure this boxes aren’t greyed out anymore.
Install your SMIME certificate
If you don’t already have a certificate you’ll need to request one. You can request one to a public CA (Certificate Authority) but except for Actalis I don’t know other free public CA for S/MIME certificates. You can also request one to your own private CA (e.g. using openssl) but then you’ll need to import the private CA public certificate into crtmngr.
You’ll then need to install your certificate on your browser’s machine:
- Double click on your
.p12certificate, follow the wizard and provide the certificate password: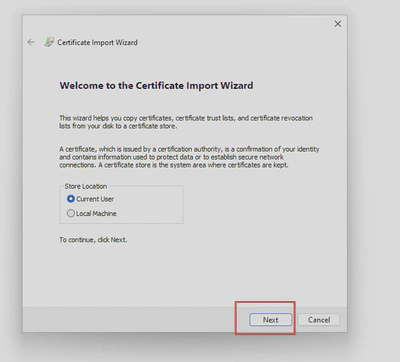
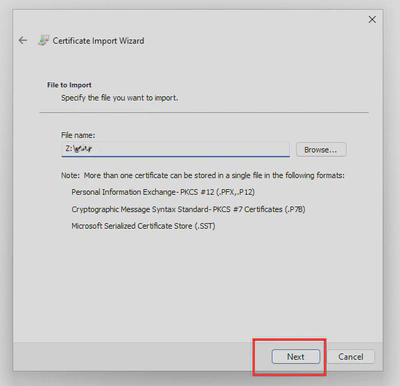
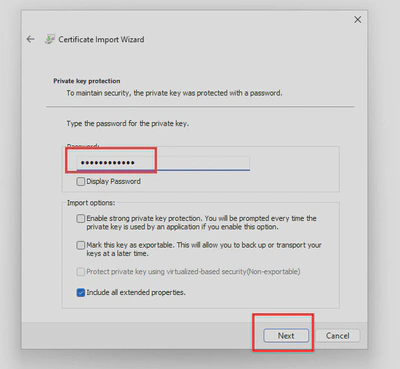
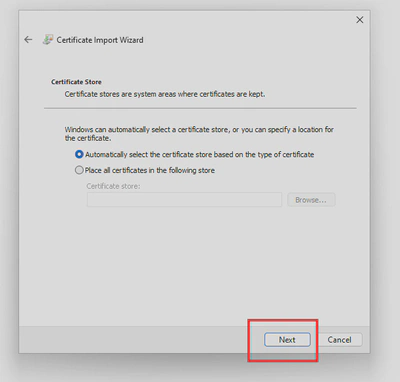
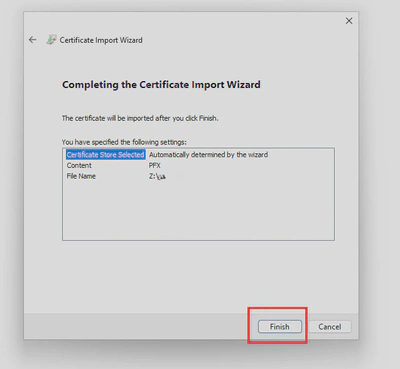
- Once installed open the
Manage User Certificateutil from the windows search bar: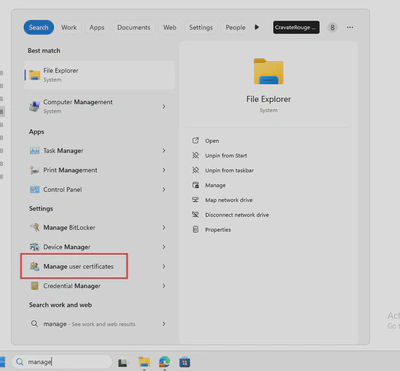
- Go to the folder where your cert is installed. Should be
Personal > Certificates: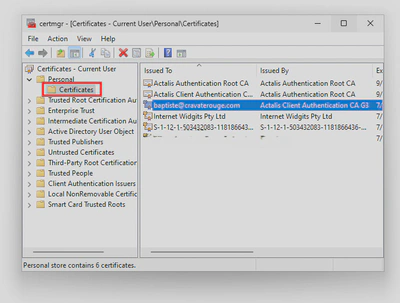
- Right click on your certificate and select
All Tasks > Export: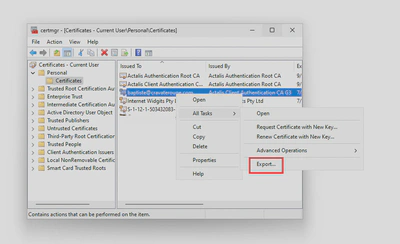
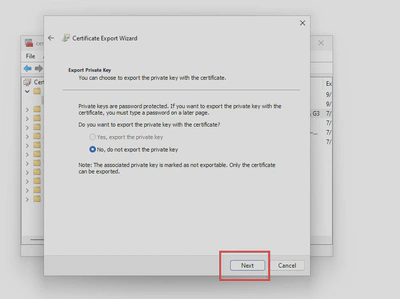
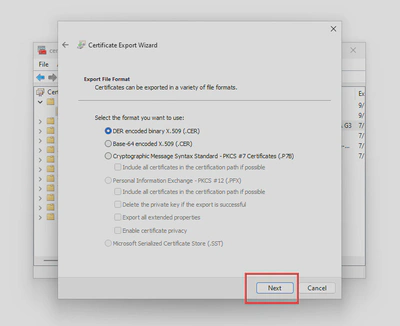
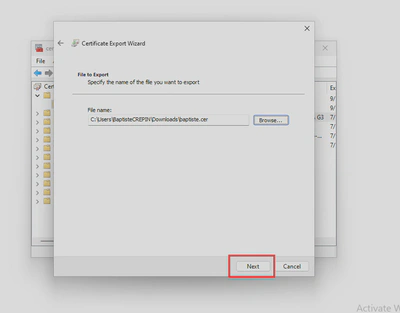
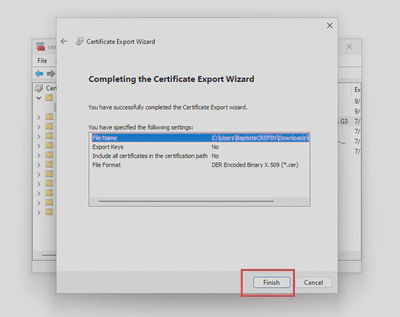
- Follow the wizard to save your certificate in
.derformat, you’ll need it to upload the public key to exchange online later.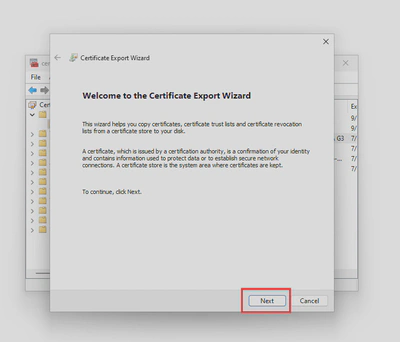
Upload the chain of trust to Exchange Online
Unlike Windows, Exchange Online doesn’t have preinstalled certificate authorities. You’ll have to push to it every certificate authorities which can verify your final user and contacts certificates.
- Open
usercrtmngragain and double click on the final user certificate - In the
Certification Pathtab you’ll see all the certificates verifying the final user certificate, it’s called the chain of trust - Ensure all those certificates are in the same folder or copy the ones outside to the current folder to be able to package them later
- Repeat the steps above for all your final users and contacts
- Use
ctrl+left clickto select each certificate of the chain of trust (If there is only one certificate in the chain of trust, include another certificate with it to be able to export the list as a.sst) - Right click on one of the selected certificate and select
All Tasks > Exportfollow the wizard and select the.sstformat - Using Powershell 7 (below 7 you’ll have error
unable to find type [uint]):
Install-Module ExchangeOnlineManagement
Import-Module ExchangeOnlineManagement
Connect-ExchangeOnline -UserPrincipalName <exchangeadmin_for_yourdomain>
Set-SmimeConfig -SMIMECertificateIssuingCA ([System.IO.File]::ReadAllBytes('C:\Users\Gold\Downloads\chainOfTrust.sst'))
- Wait a little time for the modification to be propagated
Great! we have now everything to sign and decrypt our emails in OWA, how about encrypting or verifying email signature?
Install public key on Exchange Online
This part is not well documented especially the use case to add a contact outside of our Exchange Online where I found no documentation about it but it works! So let’s begin.
- Gather your contacts public keys in a DERv3 format (as mentioned in step 5 of Install your S/MIME certificate)
- Use the following powershell code to package each DERv3 as a
.sst:
$certArray = New-Object System.Collections.ArrayList
$cert = New-Object System.Security.Cryptography.X509Certificates.X509Certificate2("D:\Gold\Documents\VM-apps\baptiste@cravaterouge.com.cer") <- DERv3 format
$certArray.Insert(0, $cert.GetRawCertData())
- If the contact belongs to the same Exchange Online, use the following powershell command:
Set-Mailbox -Identity baptiste -UserCertificate $certArray
- If the contact is external to this Exchange Online, use the following:
# Use this command if the contact isn't already created
New-MailContact -Name CravateRouge_SMIME -ExternalEmailAddress baptiste@cravaterouge.com
Set-MailContact -Identity CravateRouge_SMIME -UserCertificate $certArray
- Ensure the certificate has been correctly updated by verifying that
Get-Mailbox/Get-MailContact -Identity CravateRouge | select UserCertificatereturns the same binary as$cert.GetRawCertData() - To send an email to those contacts you have to select them from the GAL contacts with the exact identity name you gave in the powershell command above. For example to send an email to Baptiste I have to use the contact named CravateRouge_SMIME not by typing directly baptiste@cravaterouge.com or using another contact card even if it has the same email address in it.
Result
- You are now able to sign each of your mail to prove to recipients that you’re the original sender and decrypt emails sent to you
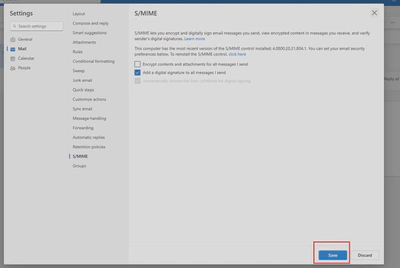
- And you can also encrypt/verify emails of contacts you added to Exchange Online
